
29 July 2026
By Rob — bench hand joiner, time served
Fitting Bathroom Wall Panels in a Doncaster Ensuite
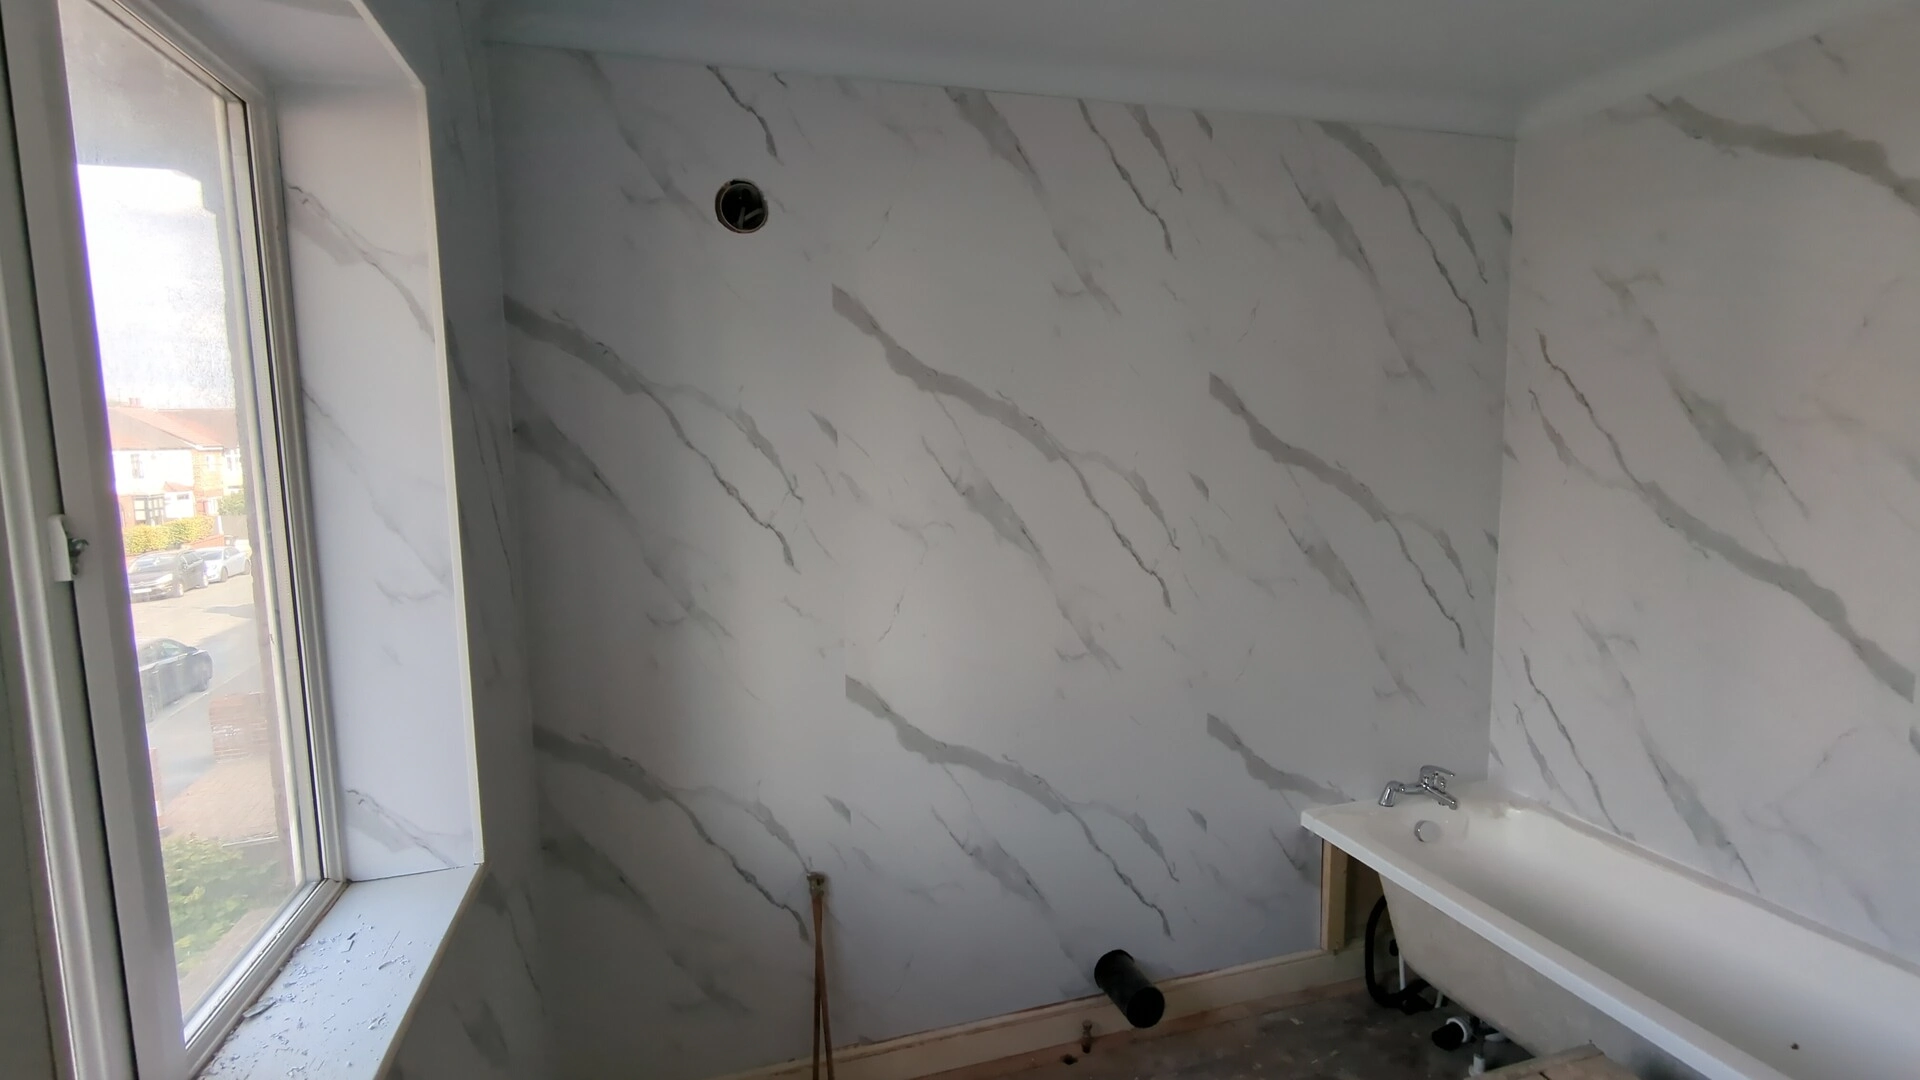
This was an ensuite refurbishment in Doncaster, where the walls were covered in marble-effect PVC bathroom wall panels rather than tiled. The panels are around 10mm thick, hollow inside, and interlock along their long edges so they join up into one continuous surface with very few lines showing.
Here is how the job went — starting with the one panel that decides whether the rest of the room works.
The ensuite we were panelling
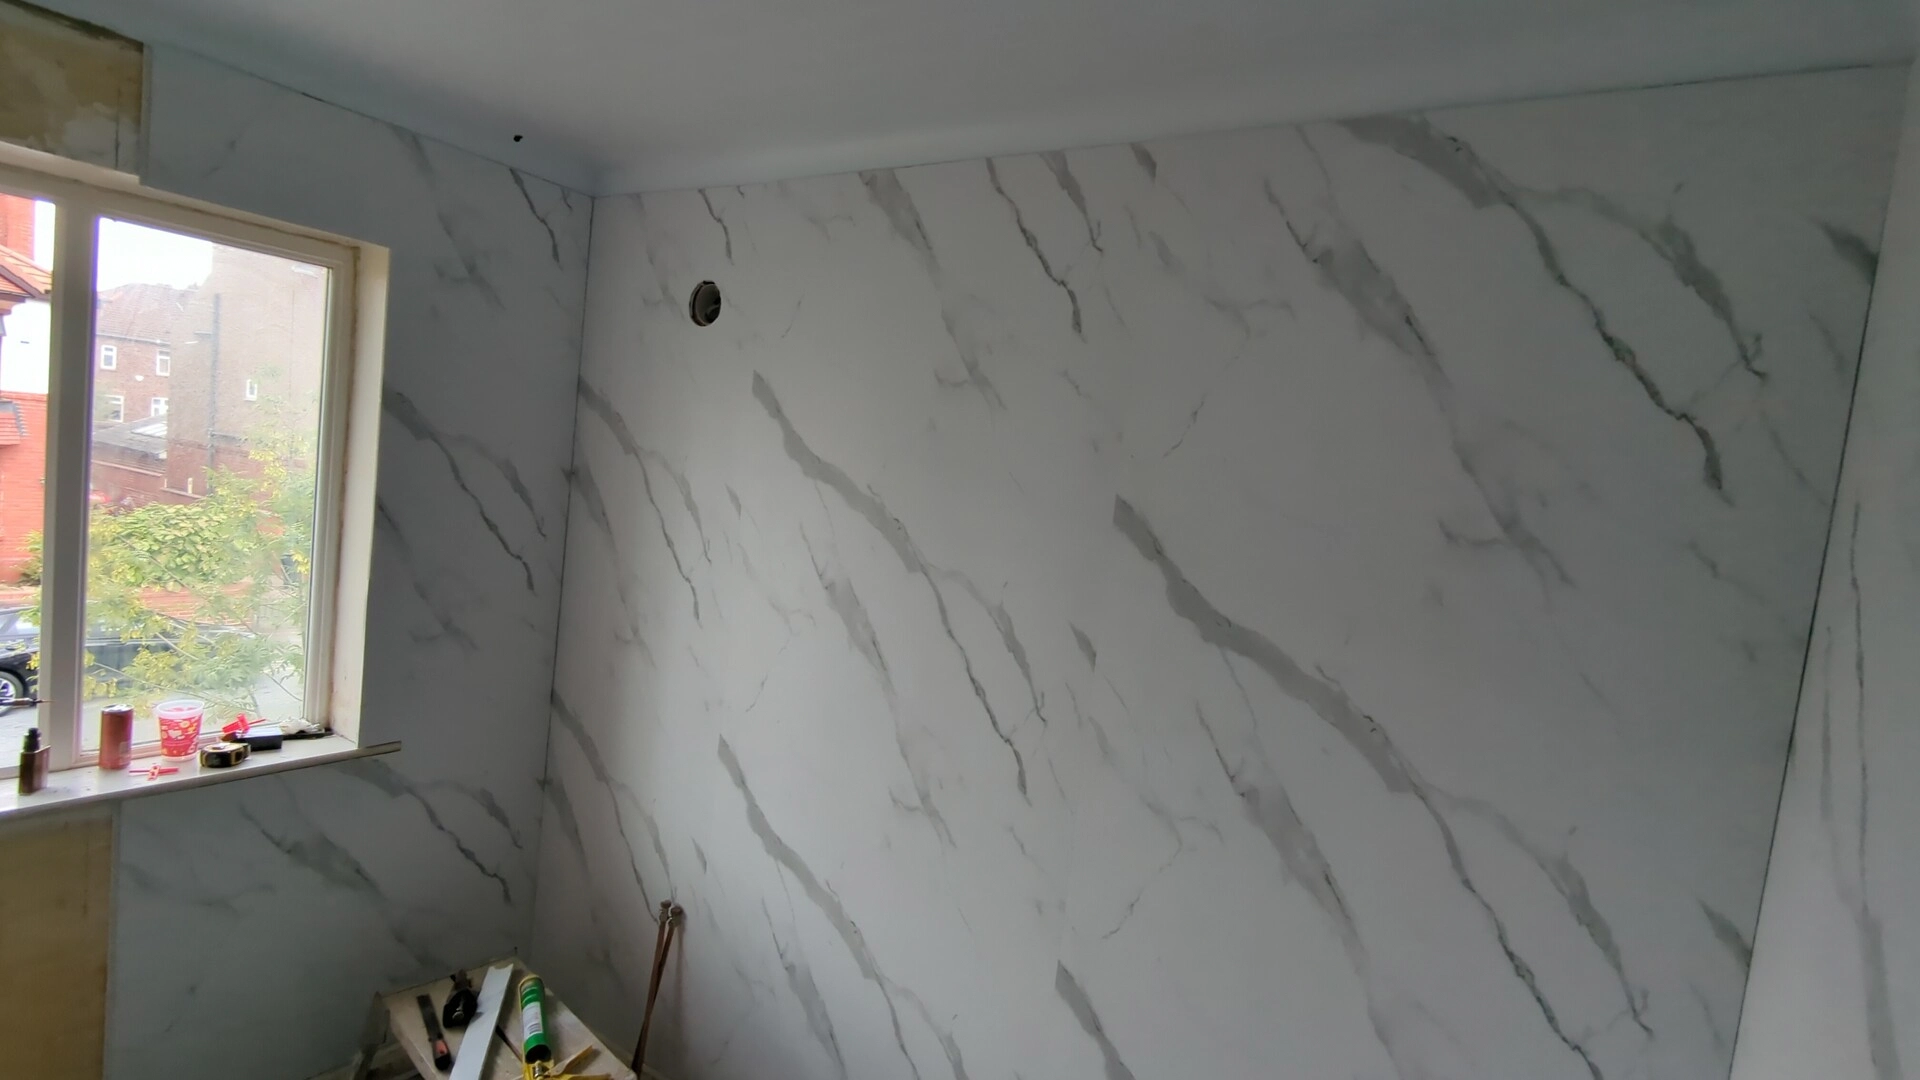
The room is a small ensuite off a bedroom: a window on the outside wall, a bath down one side, and a doorway back through to the bedroom. The walls had been prepared and boarded ready for panelling.
Fitting bathroom wall panels is a different job from tiling. There is no grout, no spacers, and no setting out to a tile module. But there is less room for error, not more, because a panel is a big piece of material and any lean in it shows for the full height of the wall.
Setting the first bathroom panel plumb
Everything in a panelled room comes off the first panel.
That first board was offered up, checked with a level, and adjusted until it was plumb before anything was fixed permanently. Not close to plumb — plumb, checked top to bottom on the face and on the edge.
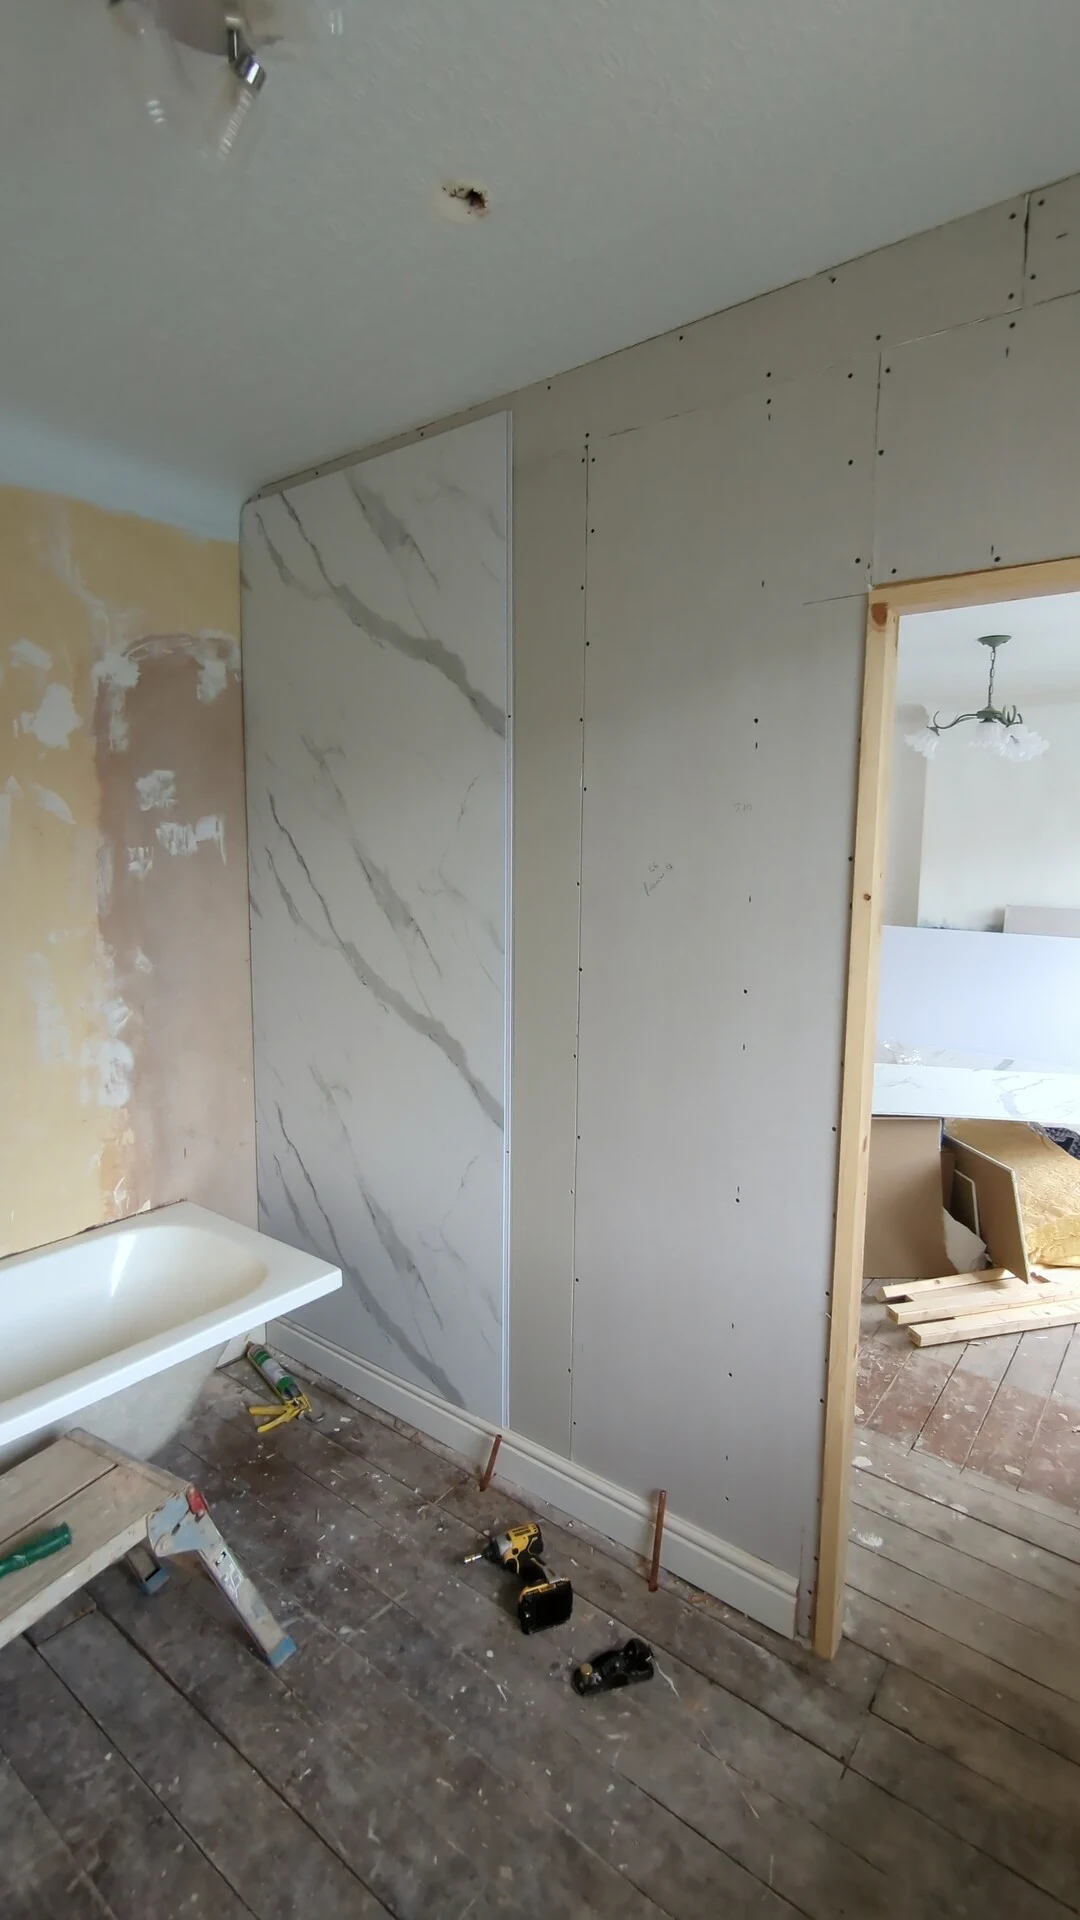
The reason it matters is straightforward. These panels interlock along their edges, so every panel after the first takes its line from the one before it. If that first board leans by a couple of millimetres, the lean gets passed along the wall and multiplies. By the time you reach the doorway or an internal corner you are trying to close a gap that is wedge-shaped, and there is nothing to be done about it except take panels back off and start again.
Walls are rarely plumb themselves, and that is the trap. Following the wall feels right, and it looks right for the first board. It is the corners, the doorway and the window reveal — the places where two lines have to meet — that show you got it wrong.
Fixing the PVC panels to the walls
The panels were bonded straight onto the prepared walls. No battens, no fixings through the face.
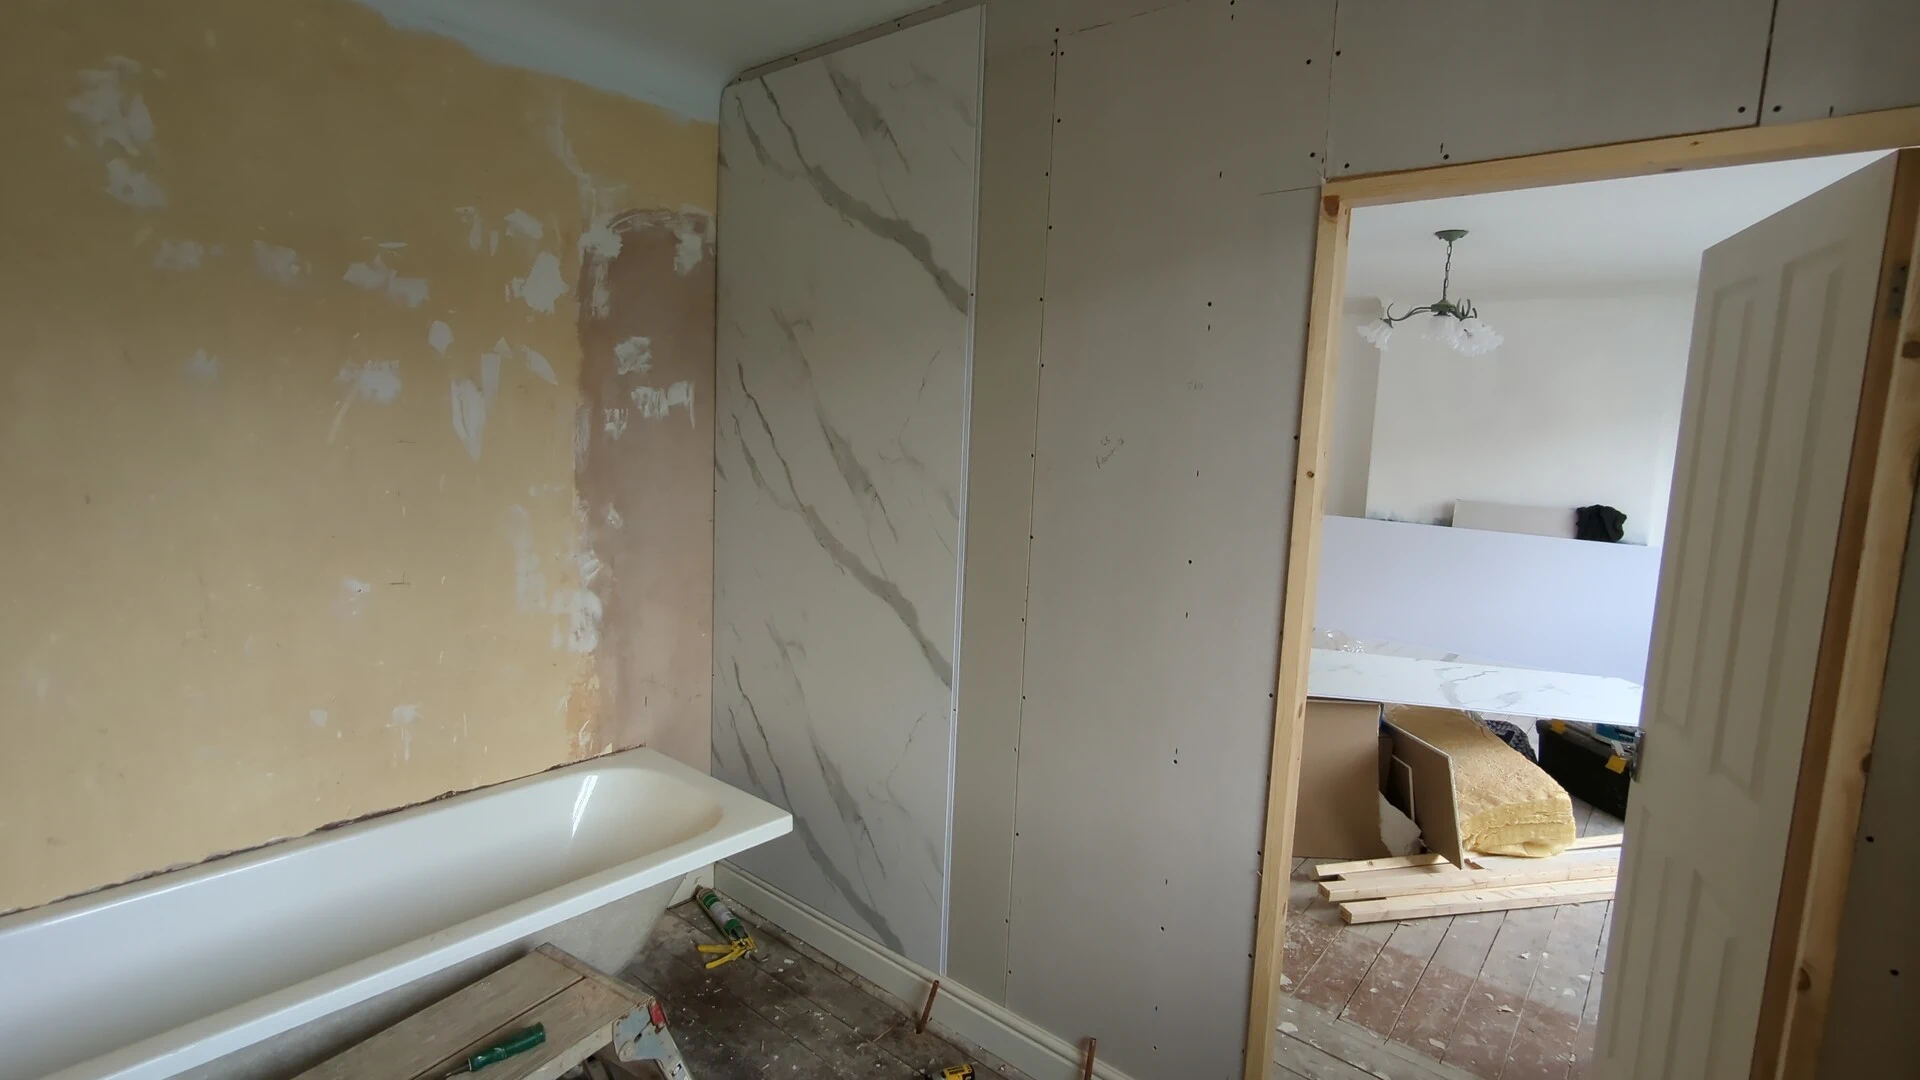
We used Evo-Stik Gripfill, applied in dots roughly every 16 to 18 inches across the back of each board. That is enough coverage to hold the panel flat against the wall, without so much adhesive that it squeezes out at the joints and has to be cleaned off the face.
Each board was then positioned, pressed back onto the wall, and checked before moving onto the next one. That check every single time is the part that gets skipped. A panel that has crept a millimetre out of line is easy to correct while the adhesive is still fresh, and impossible an hour later.
Working along the bathroom walls
From that first plumb panel we worked around the room.
Every panel was measured on its own rather than cut to a repeated size. This house is not square — wall lengths differed top to bottom and the corners were not true right angles. Cutting a stack of panels to one measurement would have left a gap at one end or the other.
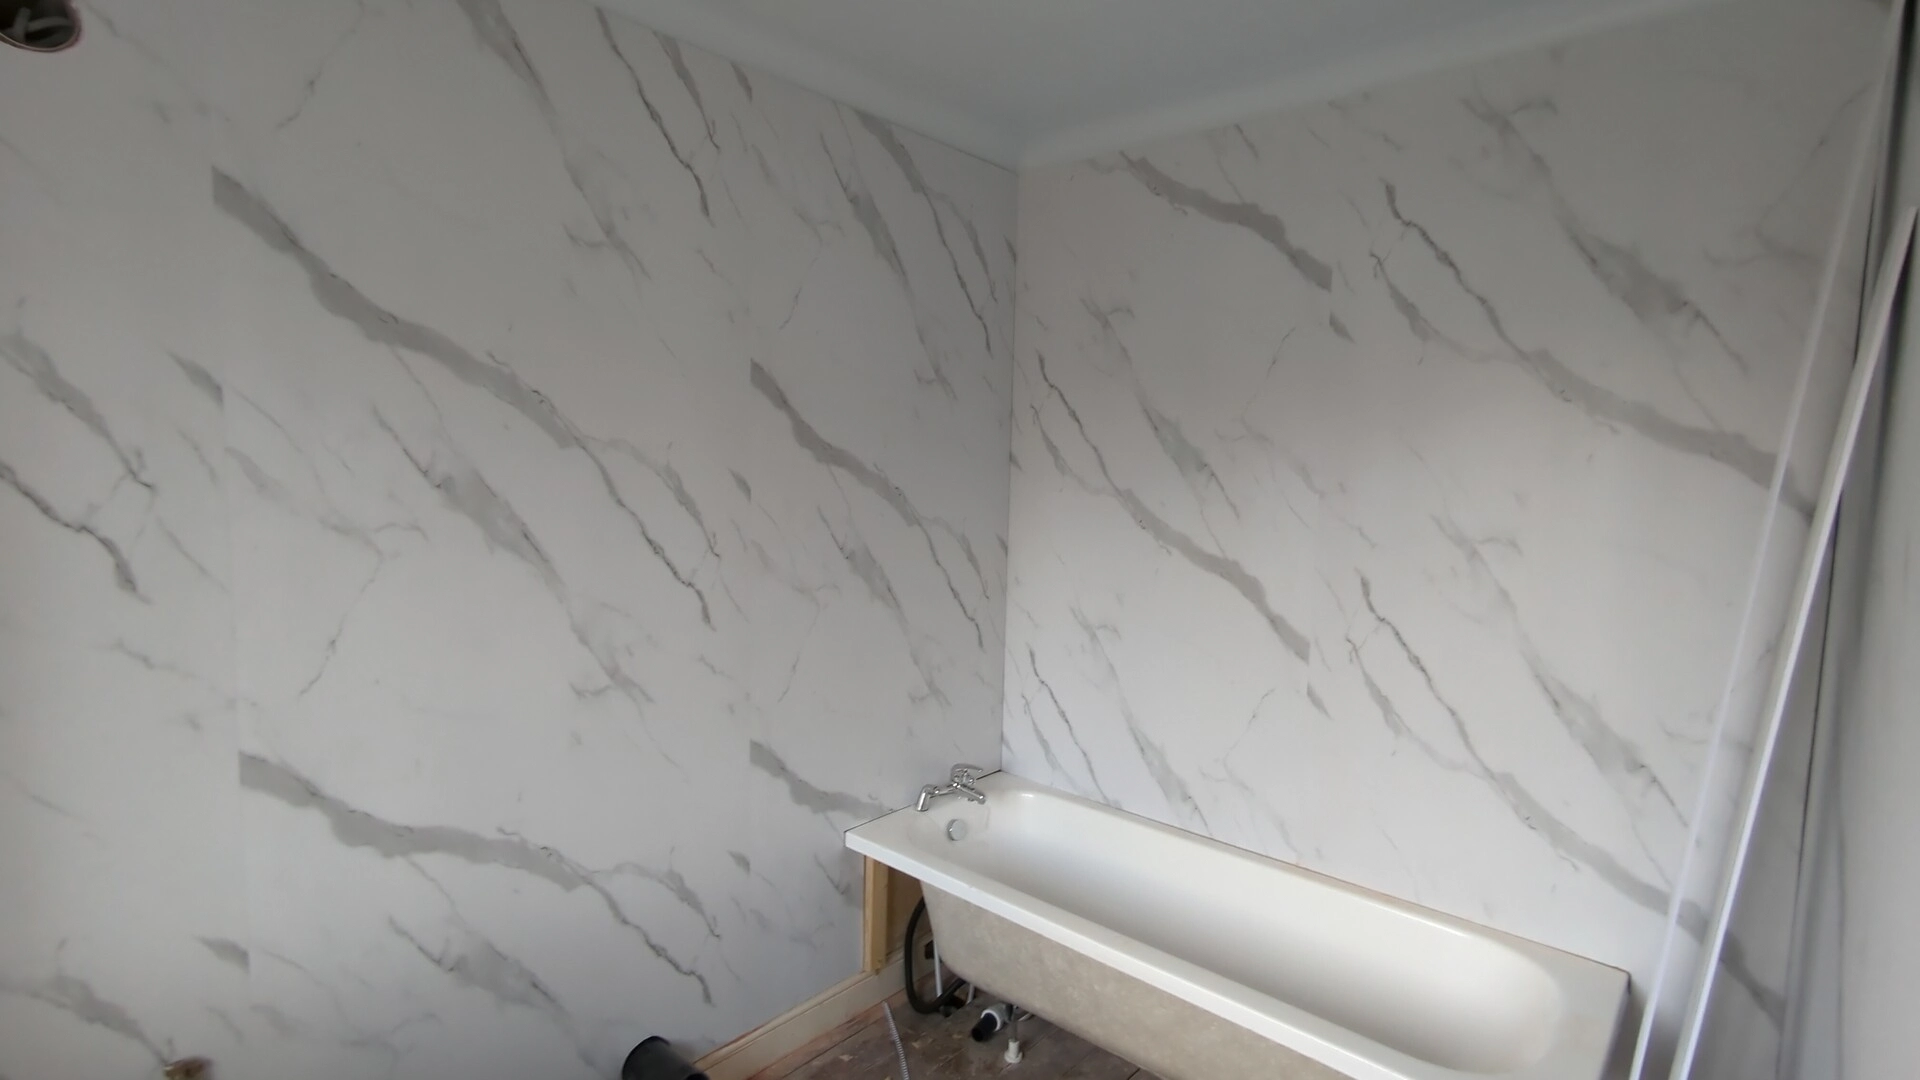
The joints were kept tight as we went. The interlocking edge does that work, but it only closes properly if the panel is square and pushed home before the adhesive grabs.
There were cut-outs to deal with along the way: the doorway back into the bedroom, the bath along one wall, pipework coming through, and an extractor vent. Each one was measured off the fixed panel next to it and cut before the board went on the wall, rather than trying to trim it in place with the panel half stuck down.
Cutting around the window and finishing the edges
The window wall was left until the two side walls were on.
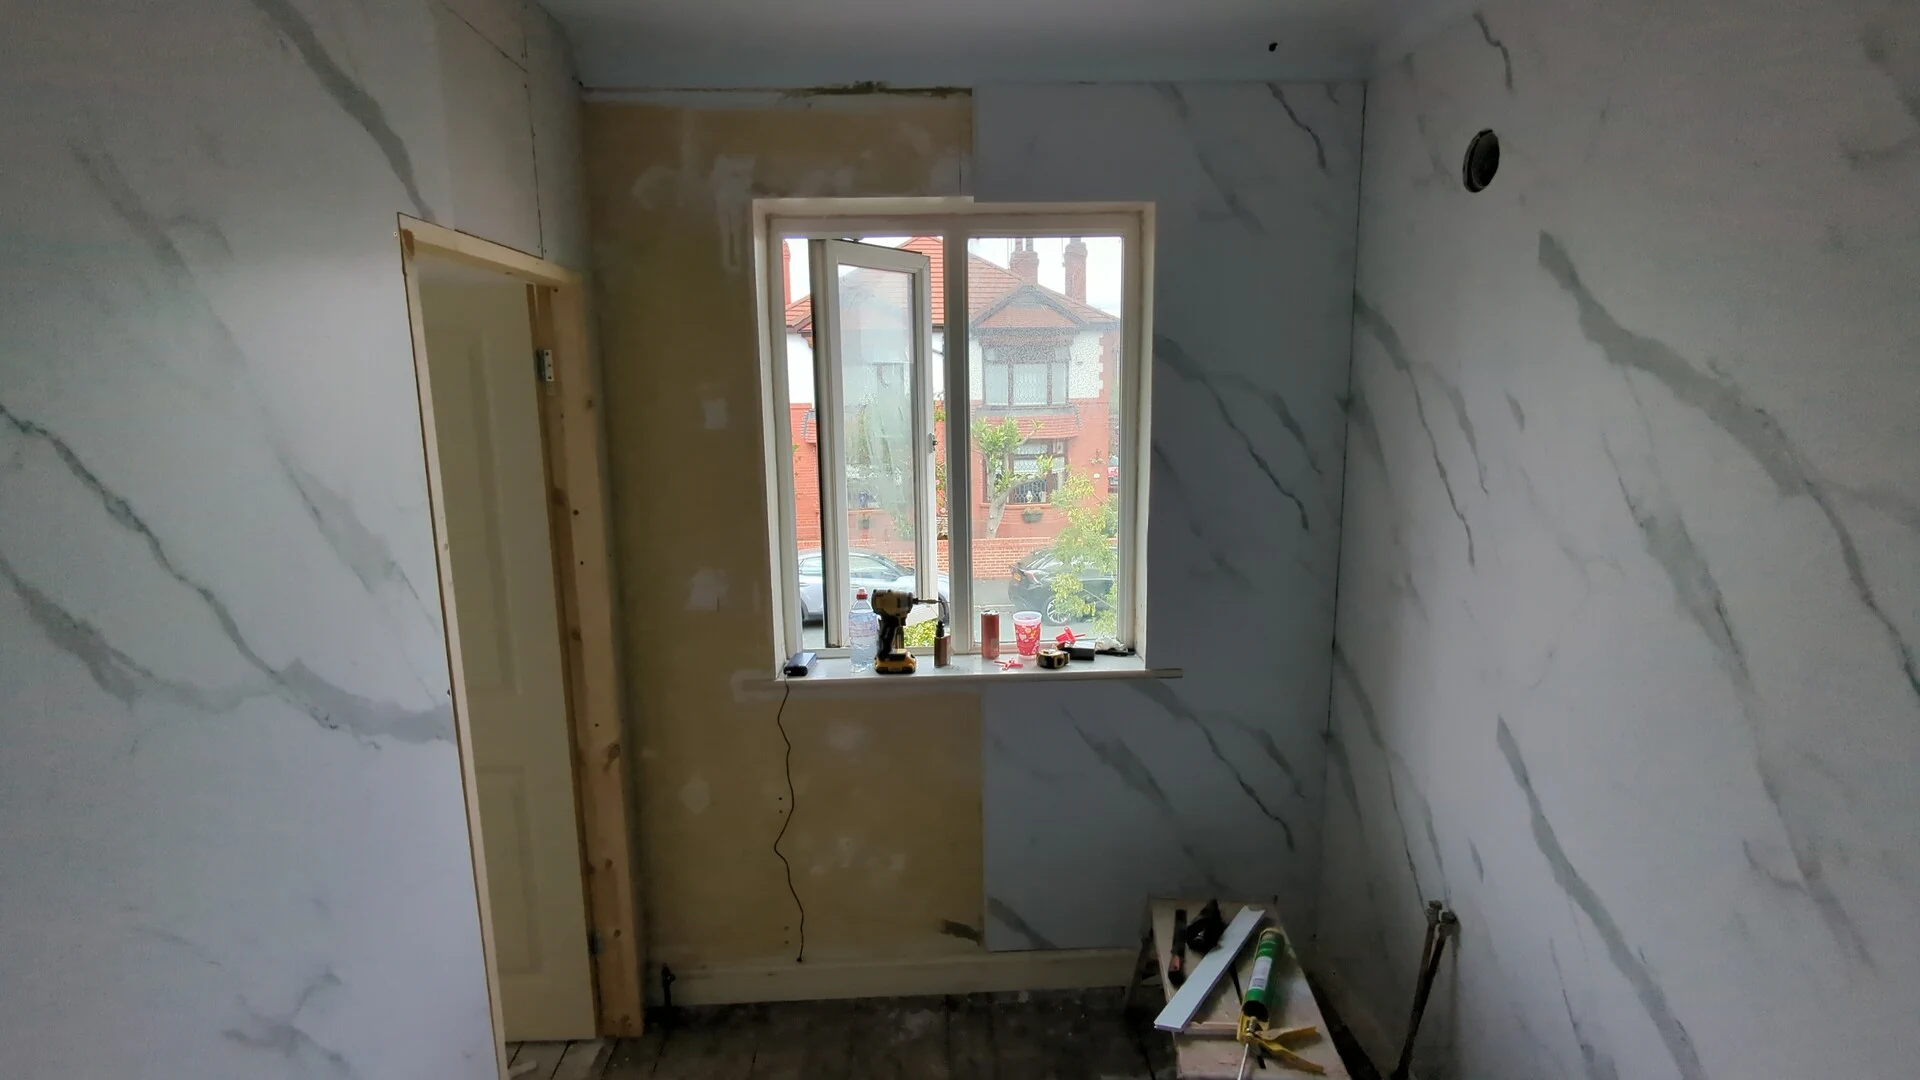
Panels then went around the reveal — the returns each side and the piece under the sill. That leaves cut edges on show, and a cut edge on a hollow-core panel is not something you want visible: you can see straight into the hollow structure of the board.
Those exposed edges were covered with plastic finishing trim. The trim caps the cut edge, hides the hollow core, and gives a clean straight line around the opening.
The completed marble-effect finish
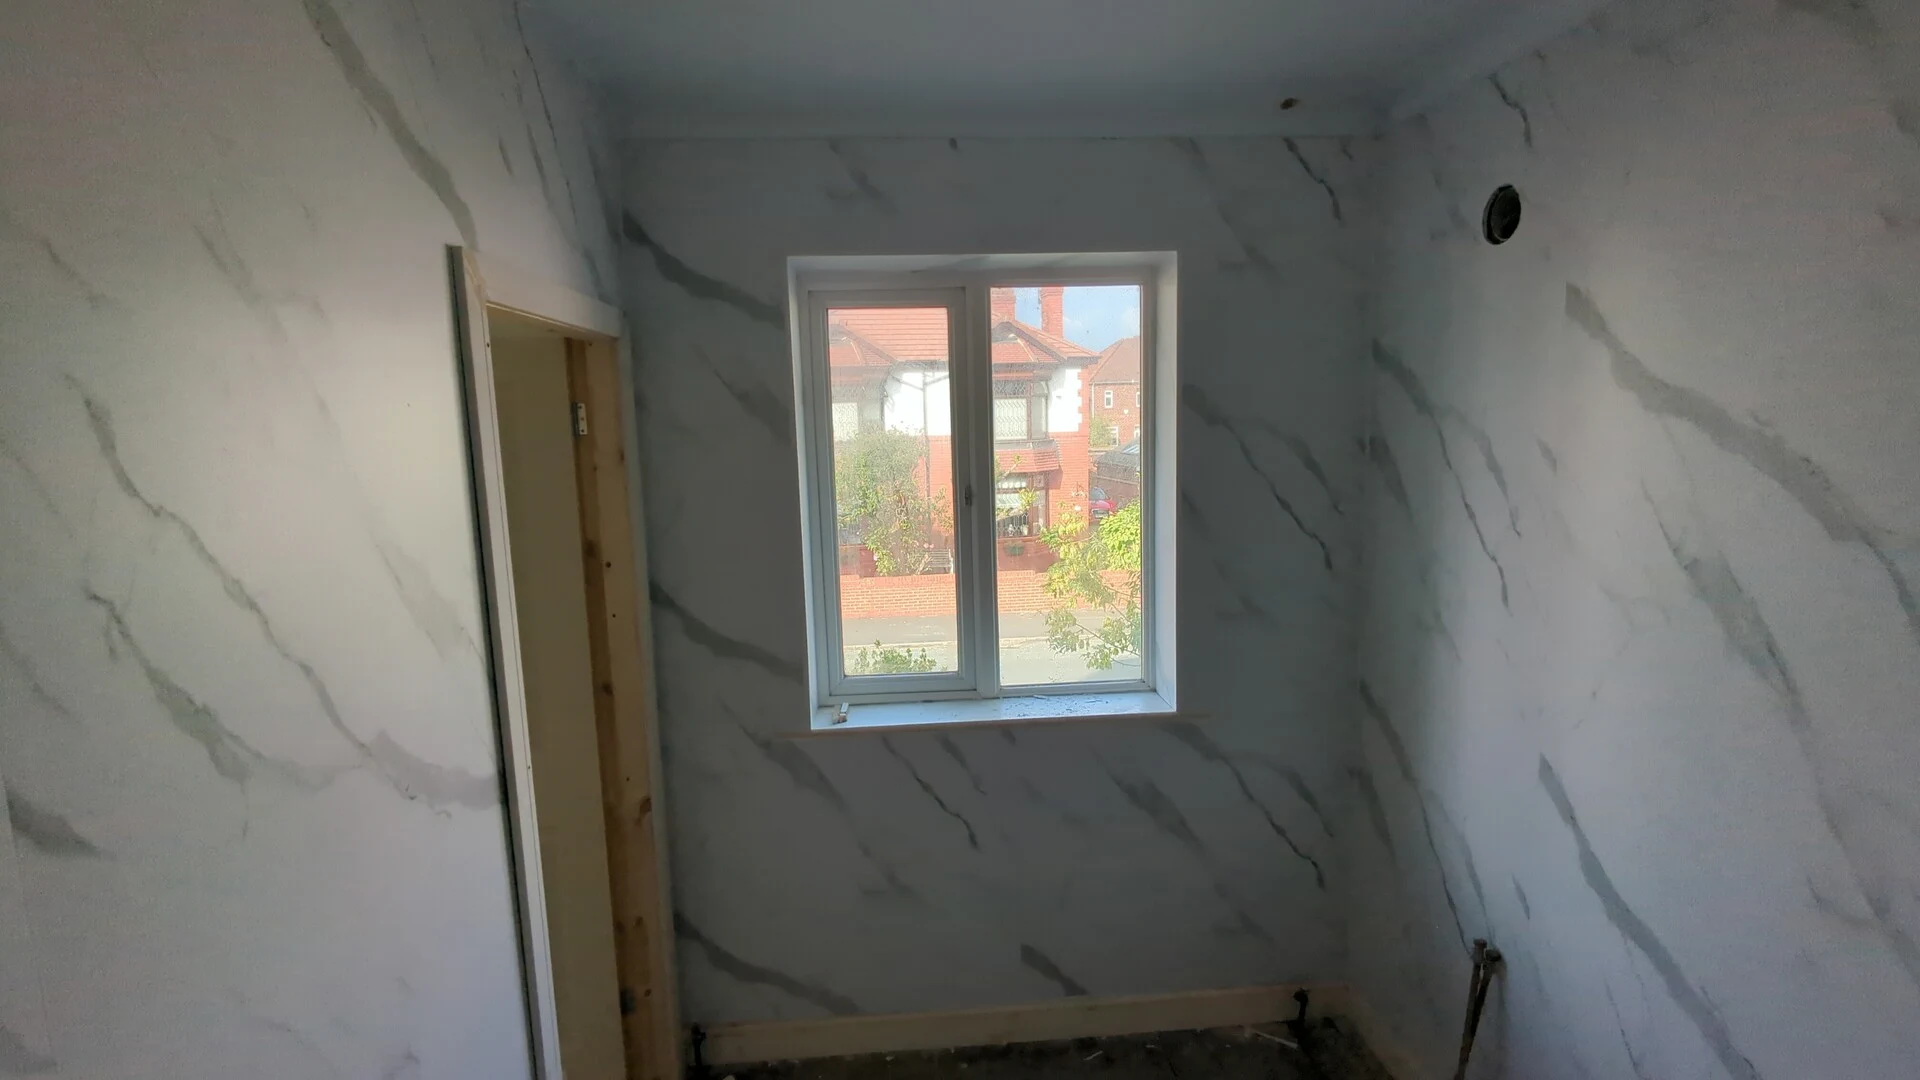
Finished, the room reads as one continuous marble-effect surface rather than a wall of tiles. There are joints, but far fewer than a tiled wall would have, and the interlock keeps them tight enough that they do not pull the eye.
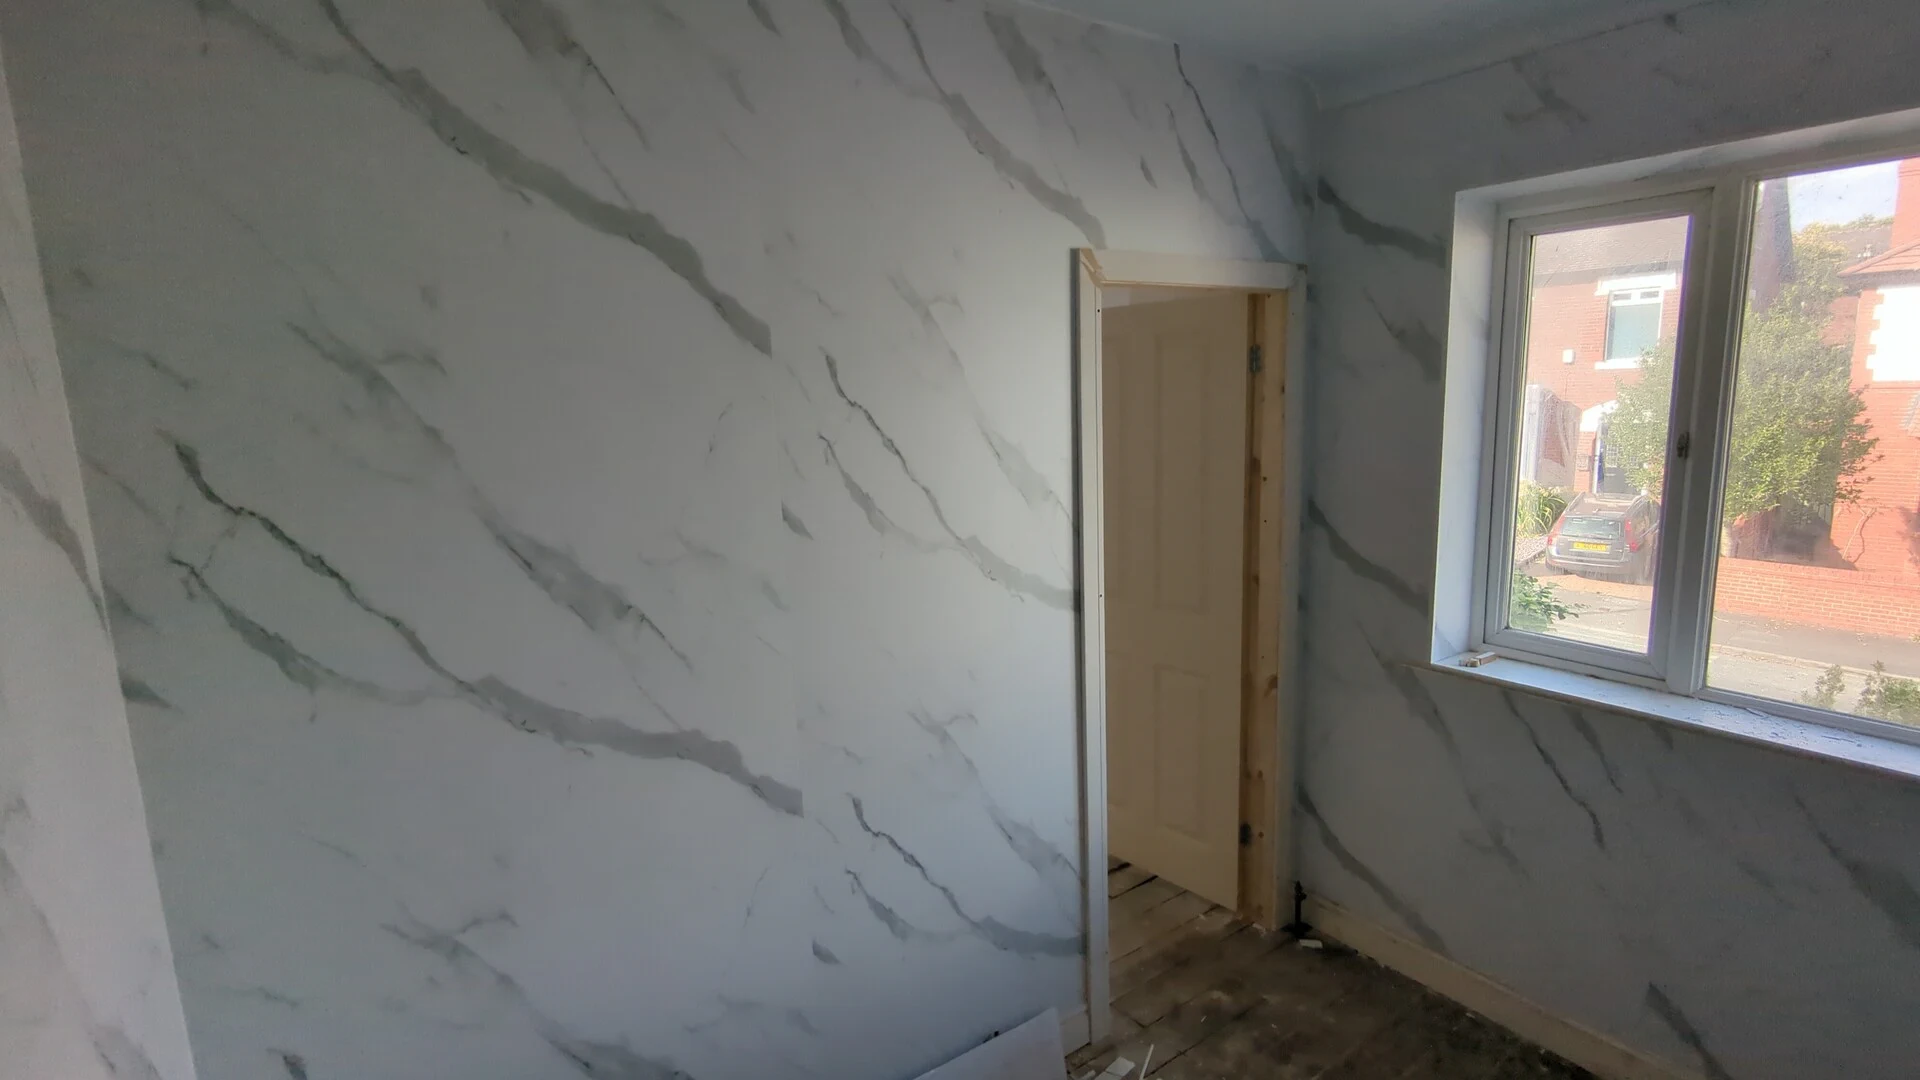
The lines around the window and the doorway are clean, with the trim doing the work wherever a panel had to be cut. The surface wipes down, which is what most people want from an ensuite, and there is no grout to discolour. It is also lighter and quicker to handle than stone or large-format tiles, which matters in a small room with a bath already in it.
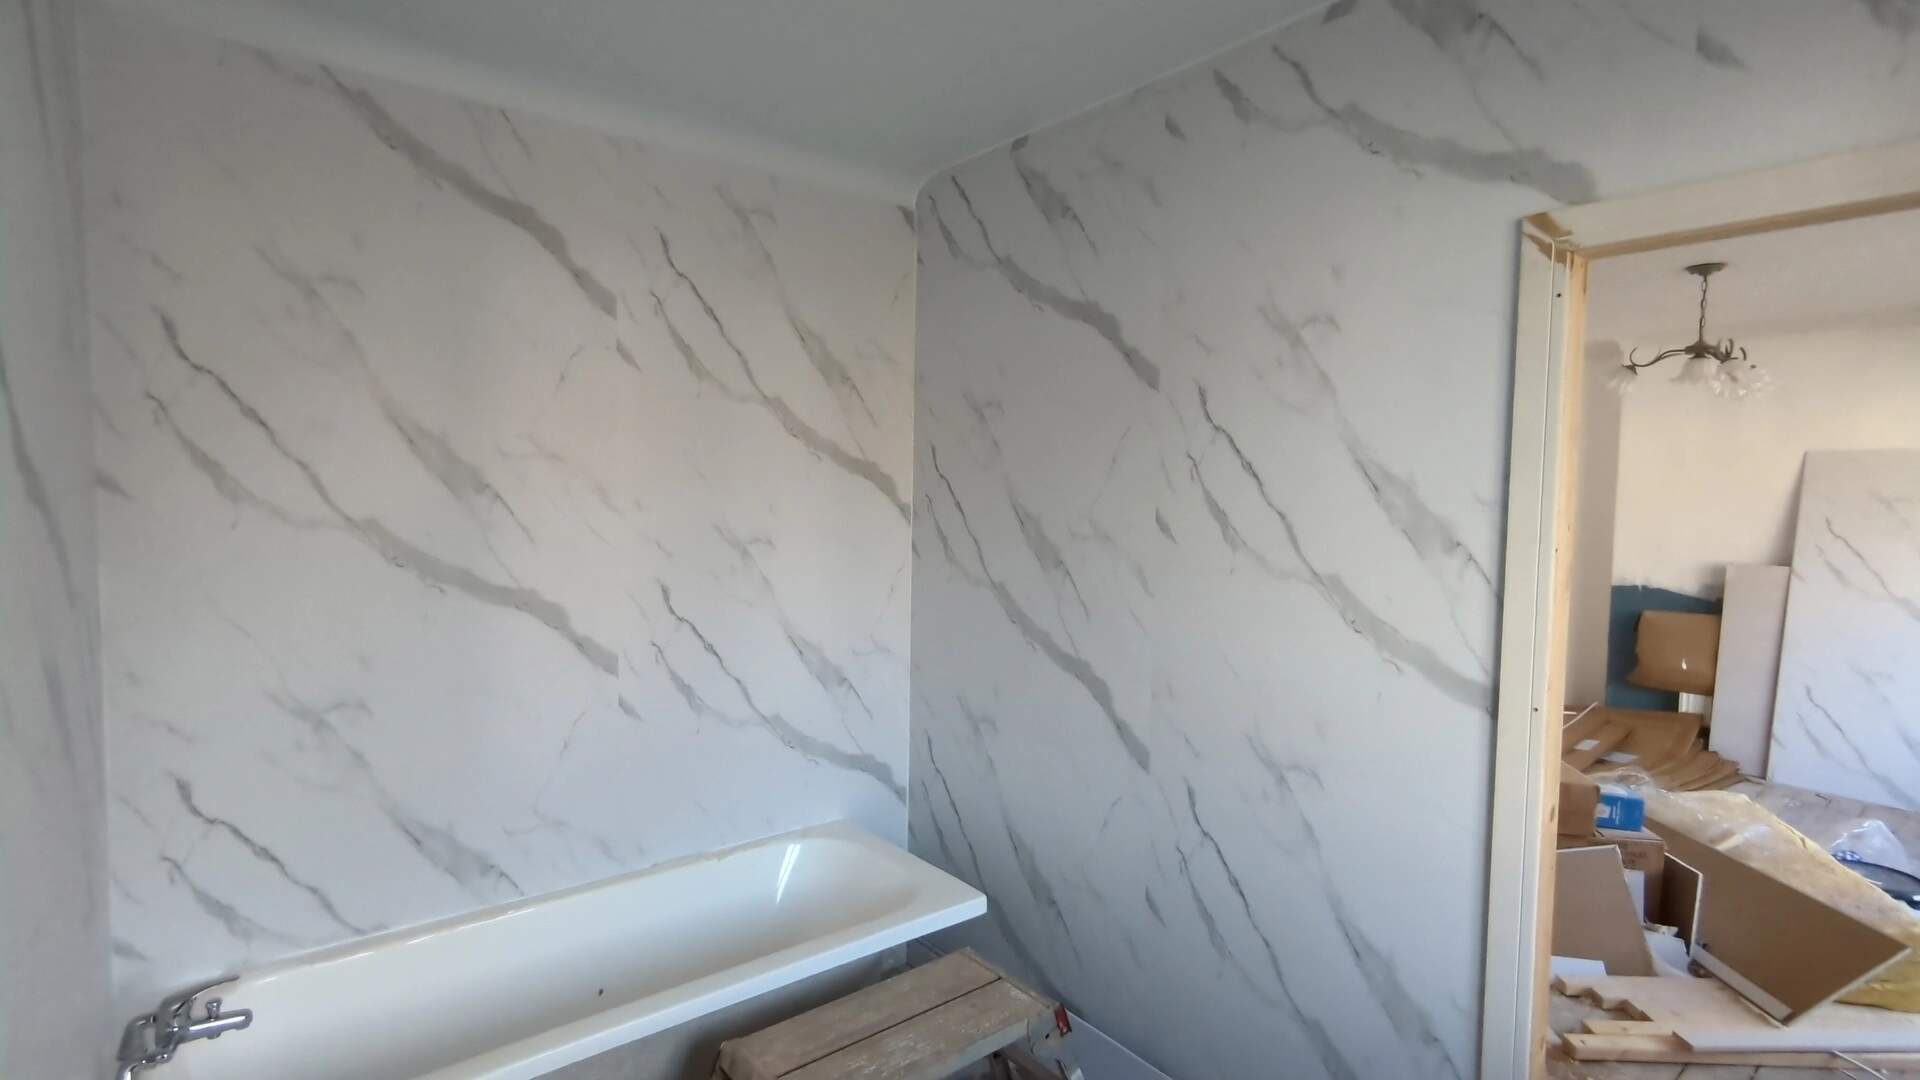
With the panelling finished, the architrave could go on around the door frame. That order matters. The architrave sits against the face of the panelling, so it has to follow the panels rather than the other way round — fit the trim first and you are scribing it to a surface that has not been built yet.
Bathroom wall panels in Doncaster and across Yorkshire
This ensuite was in Doncaster. Heritage Joiners fits bathroom wall panels, wall panelling and internal timber cladding across Doncaster, Pontefract, Wakefield and the wider Yorkshire area, alongside second fix carpentry and general carpentry repairs.
If you are thinking about panelling a bathroom or an ensuite, send Rob some photos — the room, the window, and the area around the bath — and he will give you an honest first view on what the job involves.